Inserting figures
You can insert figures into your labels.
-
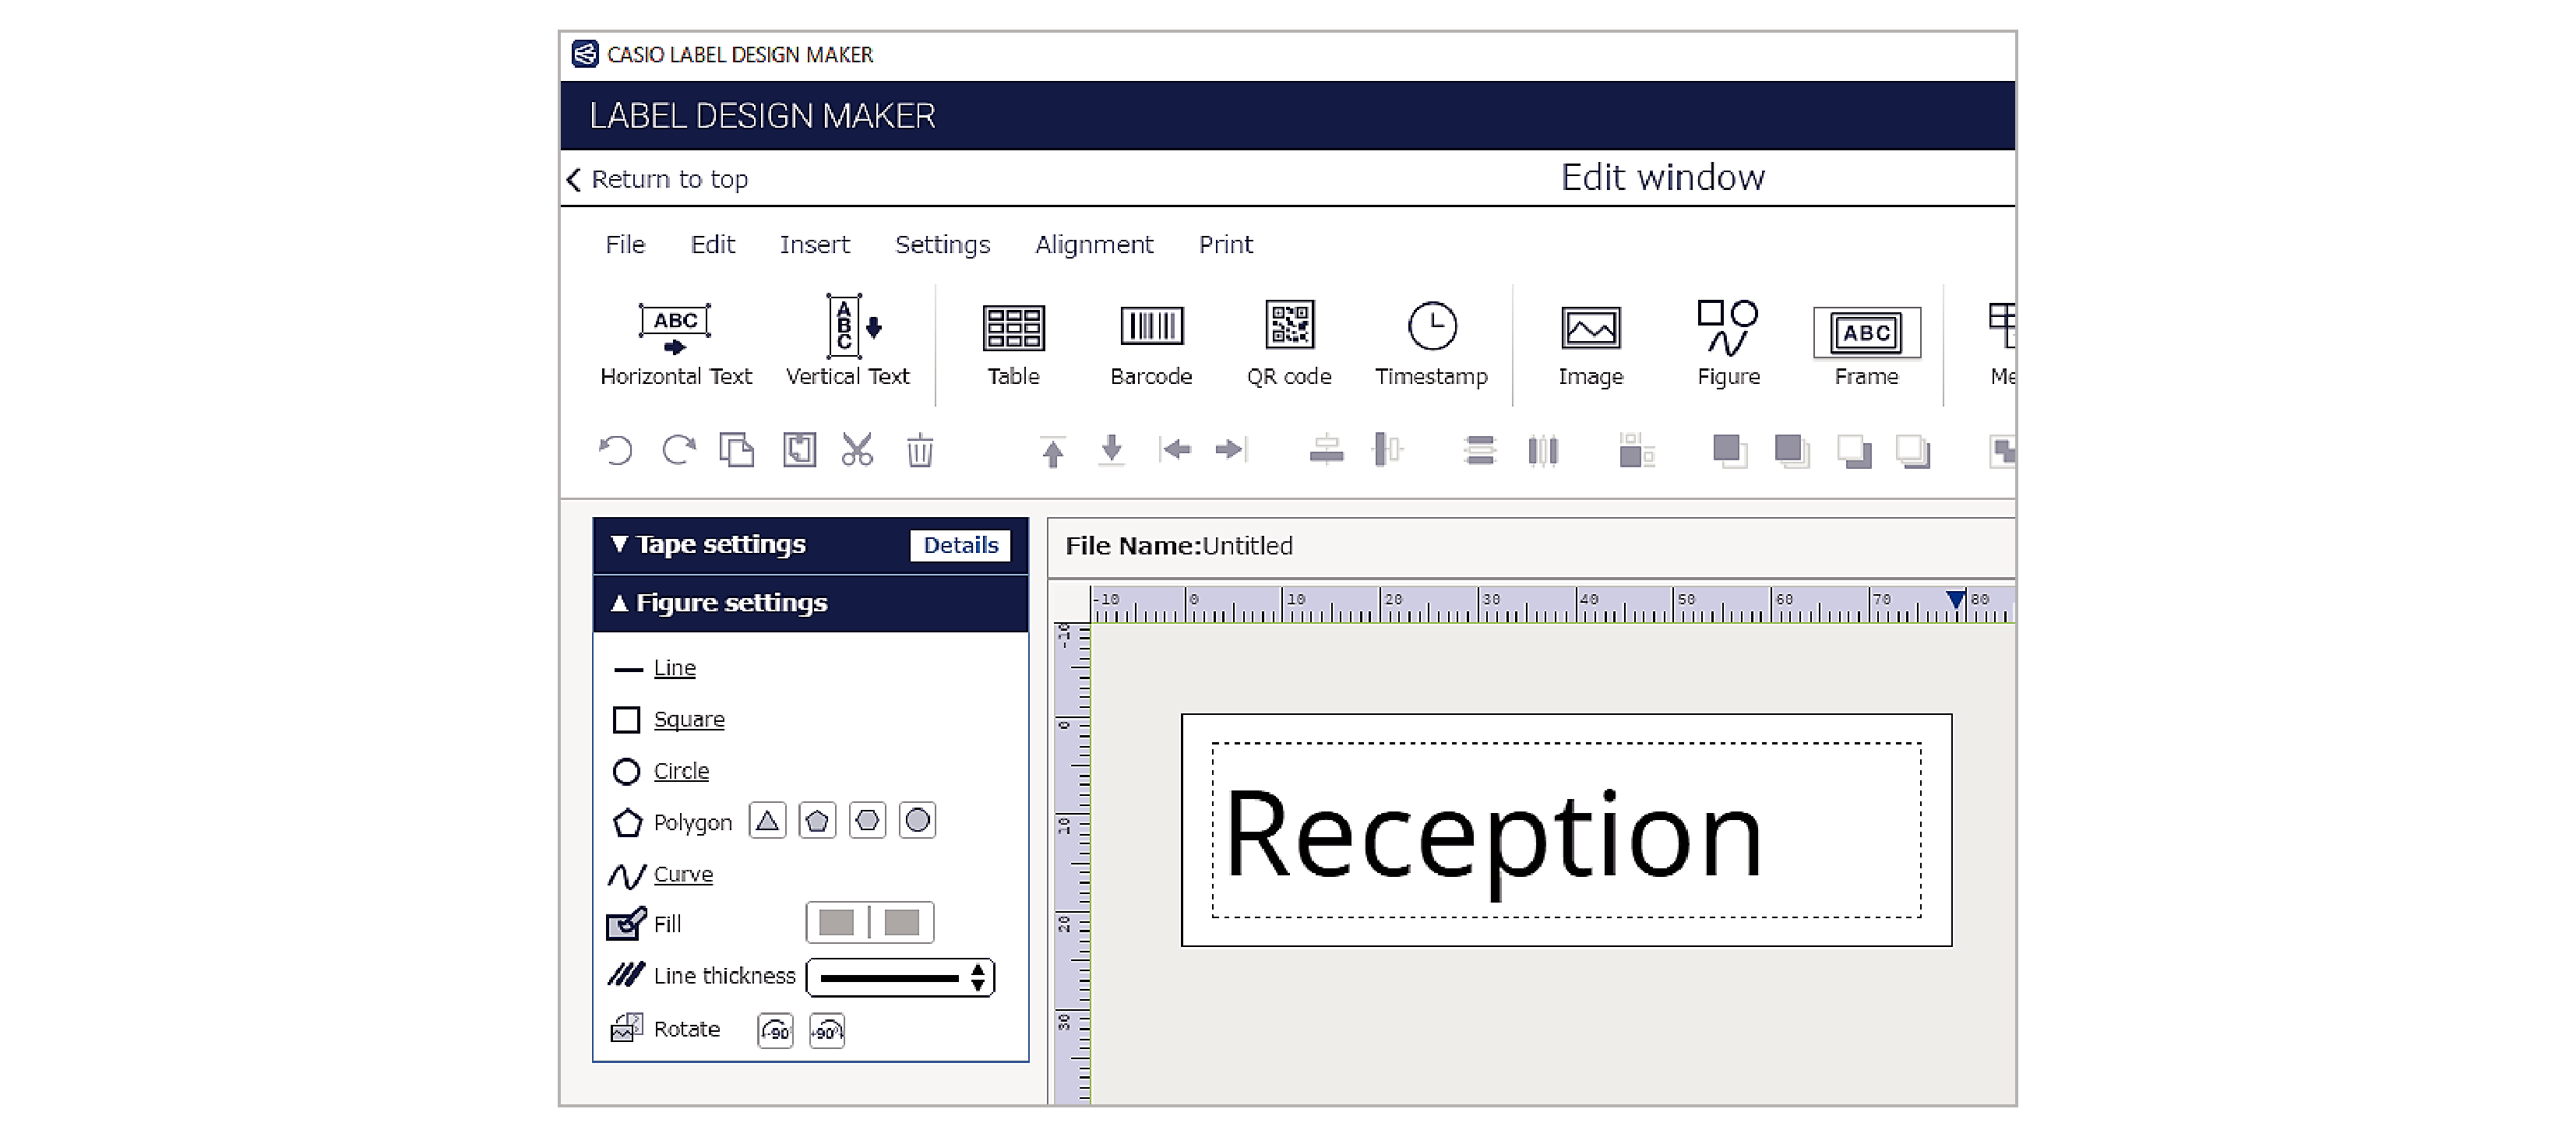
1.Click the [Figure] button in the toolbar, or click “Figure” in “Insert” in the menu bar.
-

-
2.“Figure settings” appears in the work window. Use the procedures below according to the type of figure inserted.
-

Inserting a line:
Click the straight line in the work window.
Click the starting point for drawing the line and drag the mouse to the finishing point.
You can draw a straight line vertically, horizontally or at 45° by dragging the mouse while holding down the [Shift] key.
Inserting a square:
Click the square in the work window.
Click the starting point for inserting the square and drag the mouse diagonally to the finishing point.
You can insert the figure without changing its aspect ratio by holding down the [Shift] key as you drag the mouse.
Inserting a circle:
Click the circle in the work window.
Click where the center of the circle will be and drag the mouse out to the edge of the circle.
You can insert the figure without changing its aspect ratio by holding down the [Shift] key as you drag the mouse.
Inserting a polygon:
Click one of the polygons in the work window.
Click the position where you want to insert the polygon and it will be inserted with that point as the starting point.
Drag the handles to resize the polygon.
Inserting a curve:
Click the curved line in the work window.
Click to draw the shape of the curve and double-click to finish.
Fill:
Allows you to fill in a square, circle or polygon in a figure.
Line thickness:
Allows you to select the thickness of lines in figures.
Rotate:
Enables you to rotate figures in 90° increments.
 Top of page