Creating tables
-
1.Click the [Table] button in the toolbar, or click “Table” in “Insert” in the menu bar.
-

-
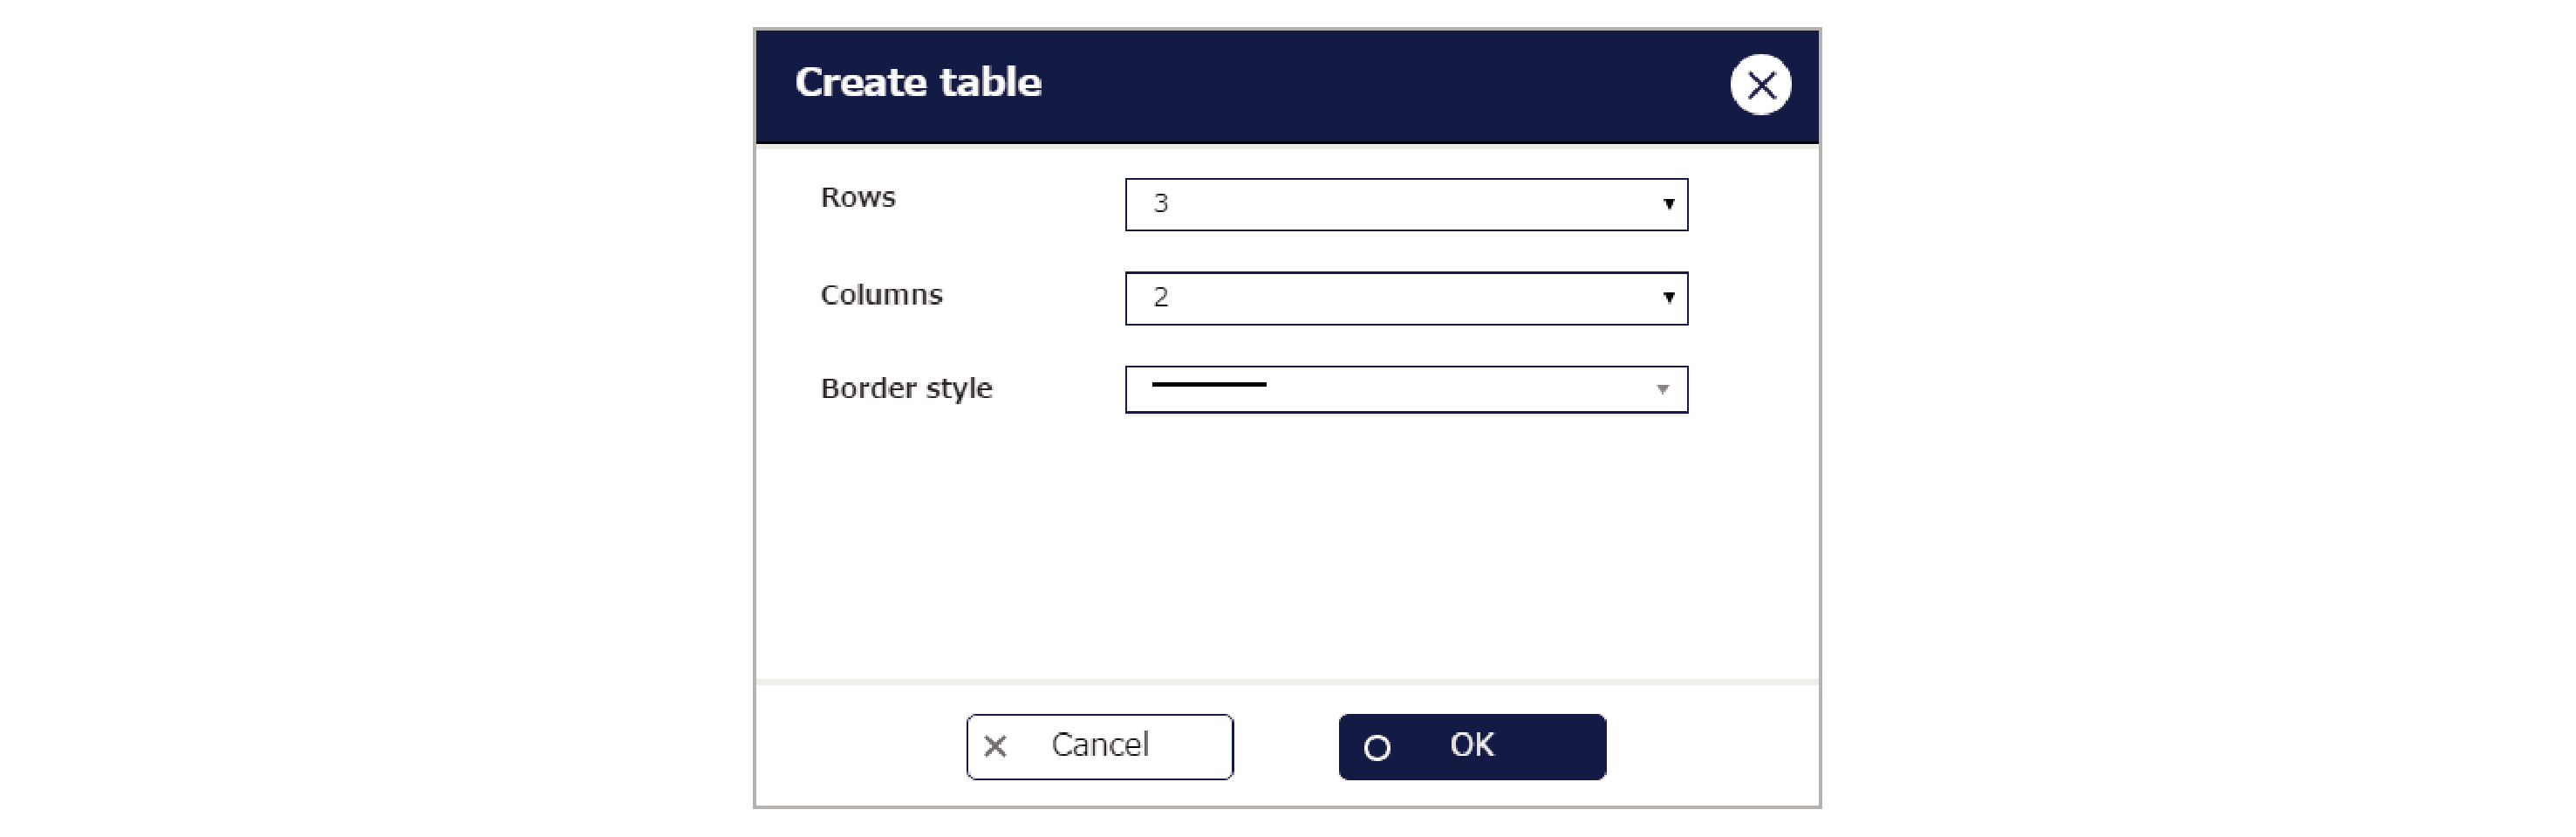
2.The “Create table” window appears.
Set the “Rows”, “Columns” and “Border style” and then click the [OK] button. -
- You can specify up to 9 rows in “Rows” and up to 5 columns in “Columns”.
-
3.Double-click inside a table cell to enter text.
-
- When you select a table cell, it is highlighted in yellow and “Table settings” appears in the work window.
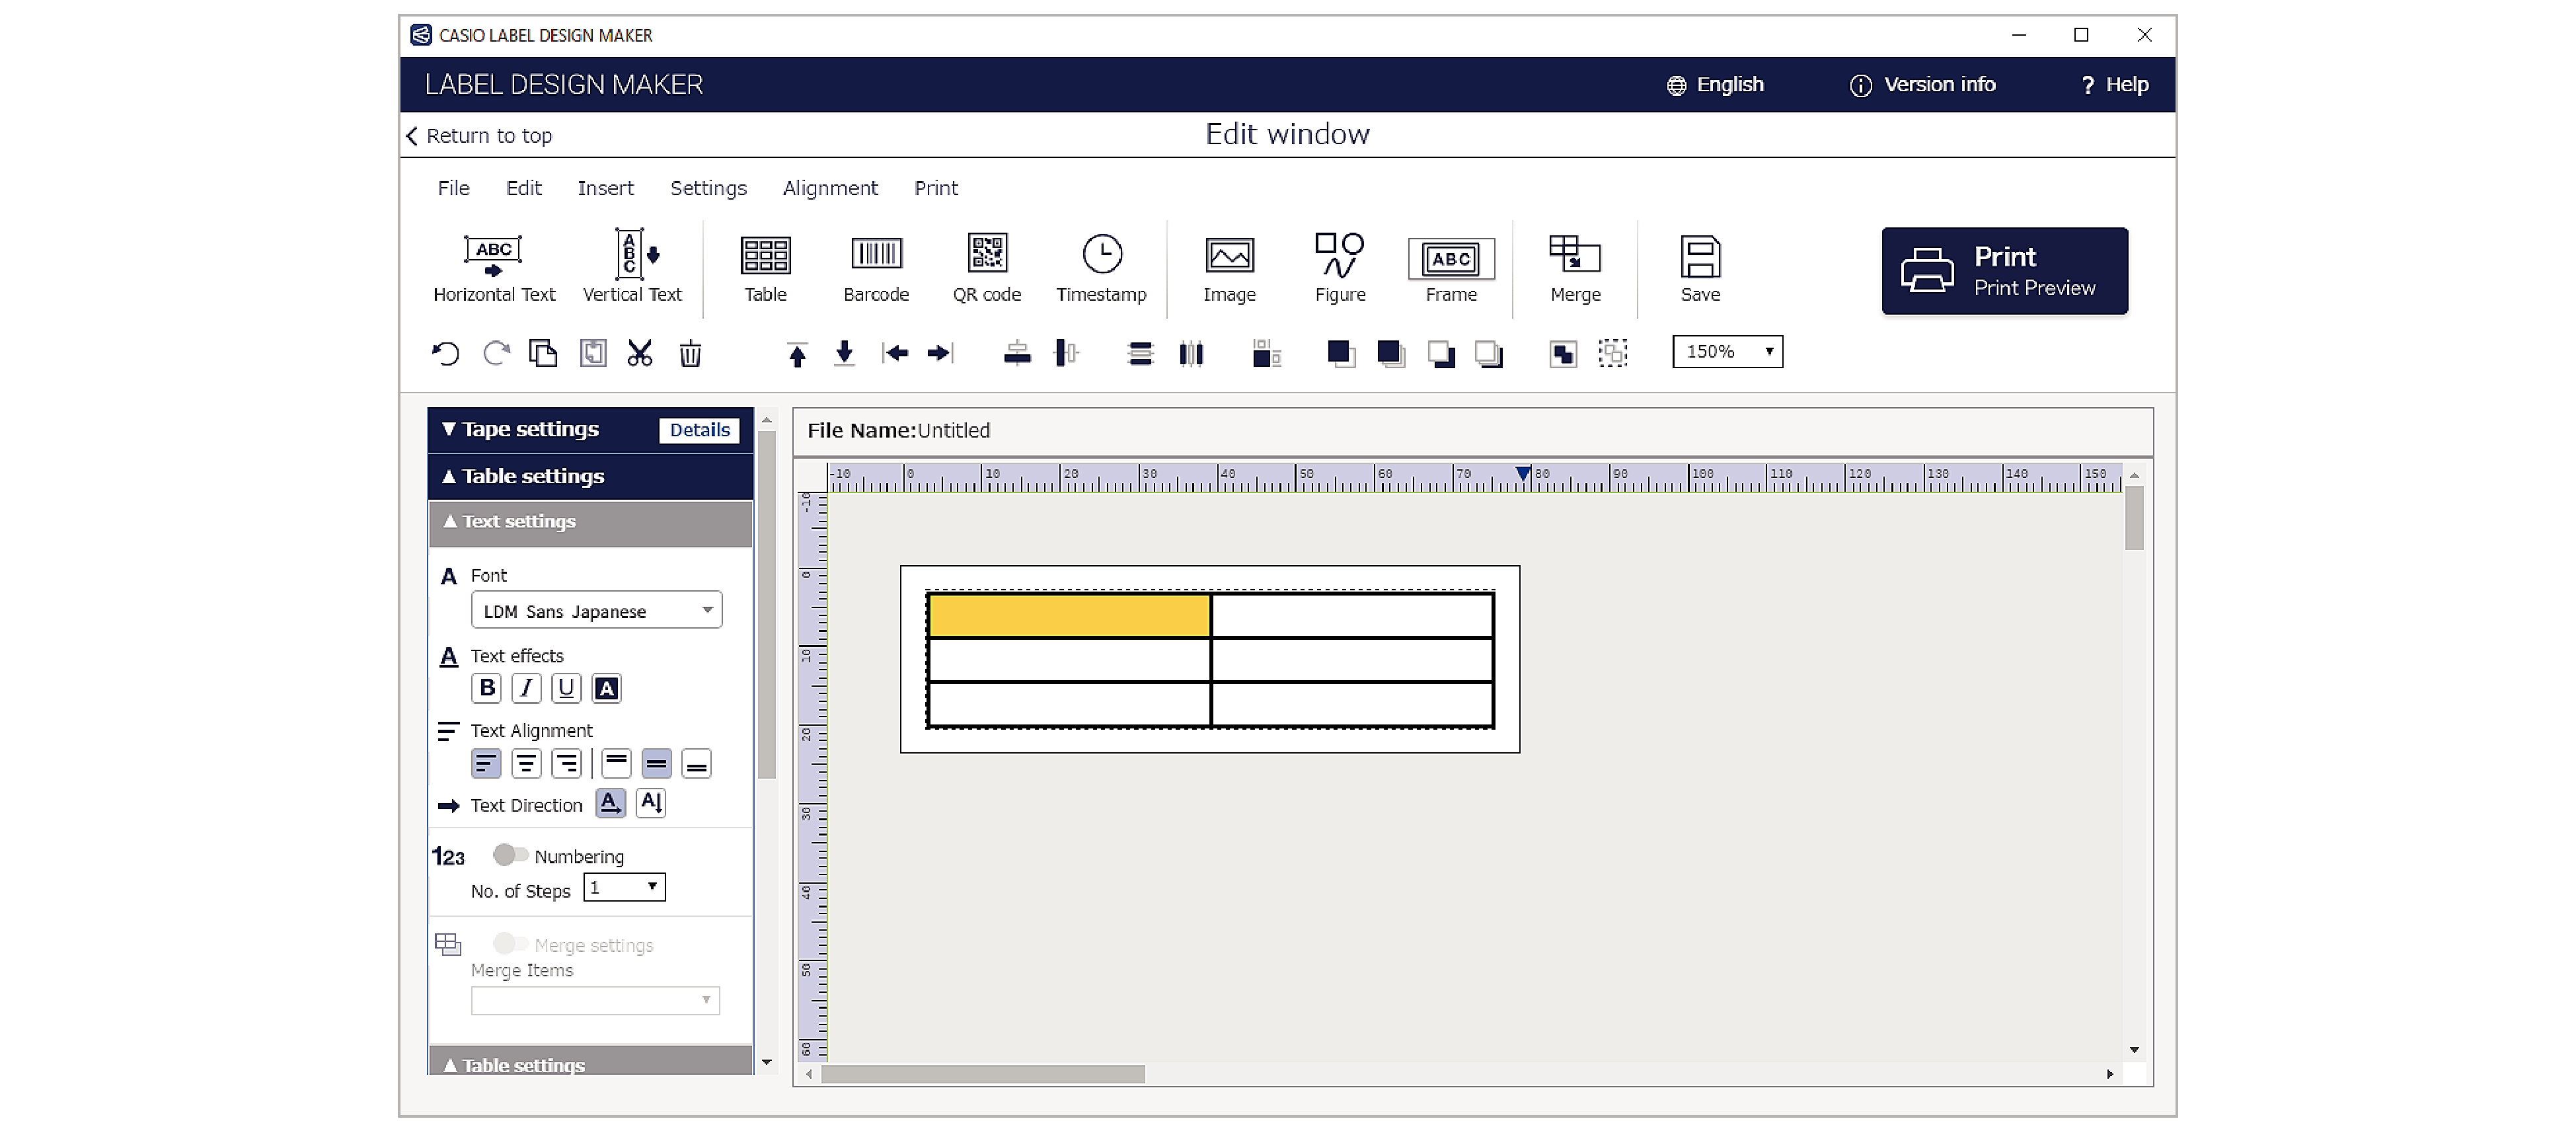
Table setting parameters
Text settings
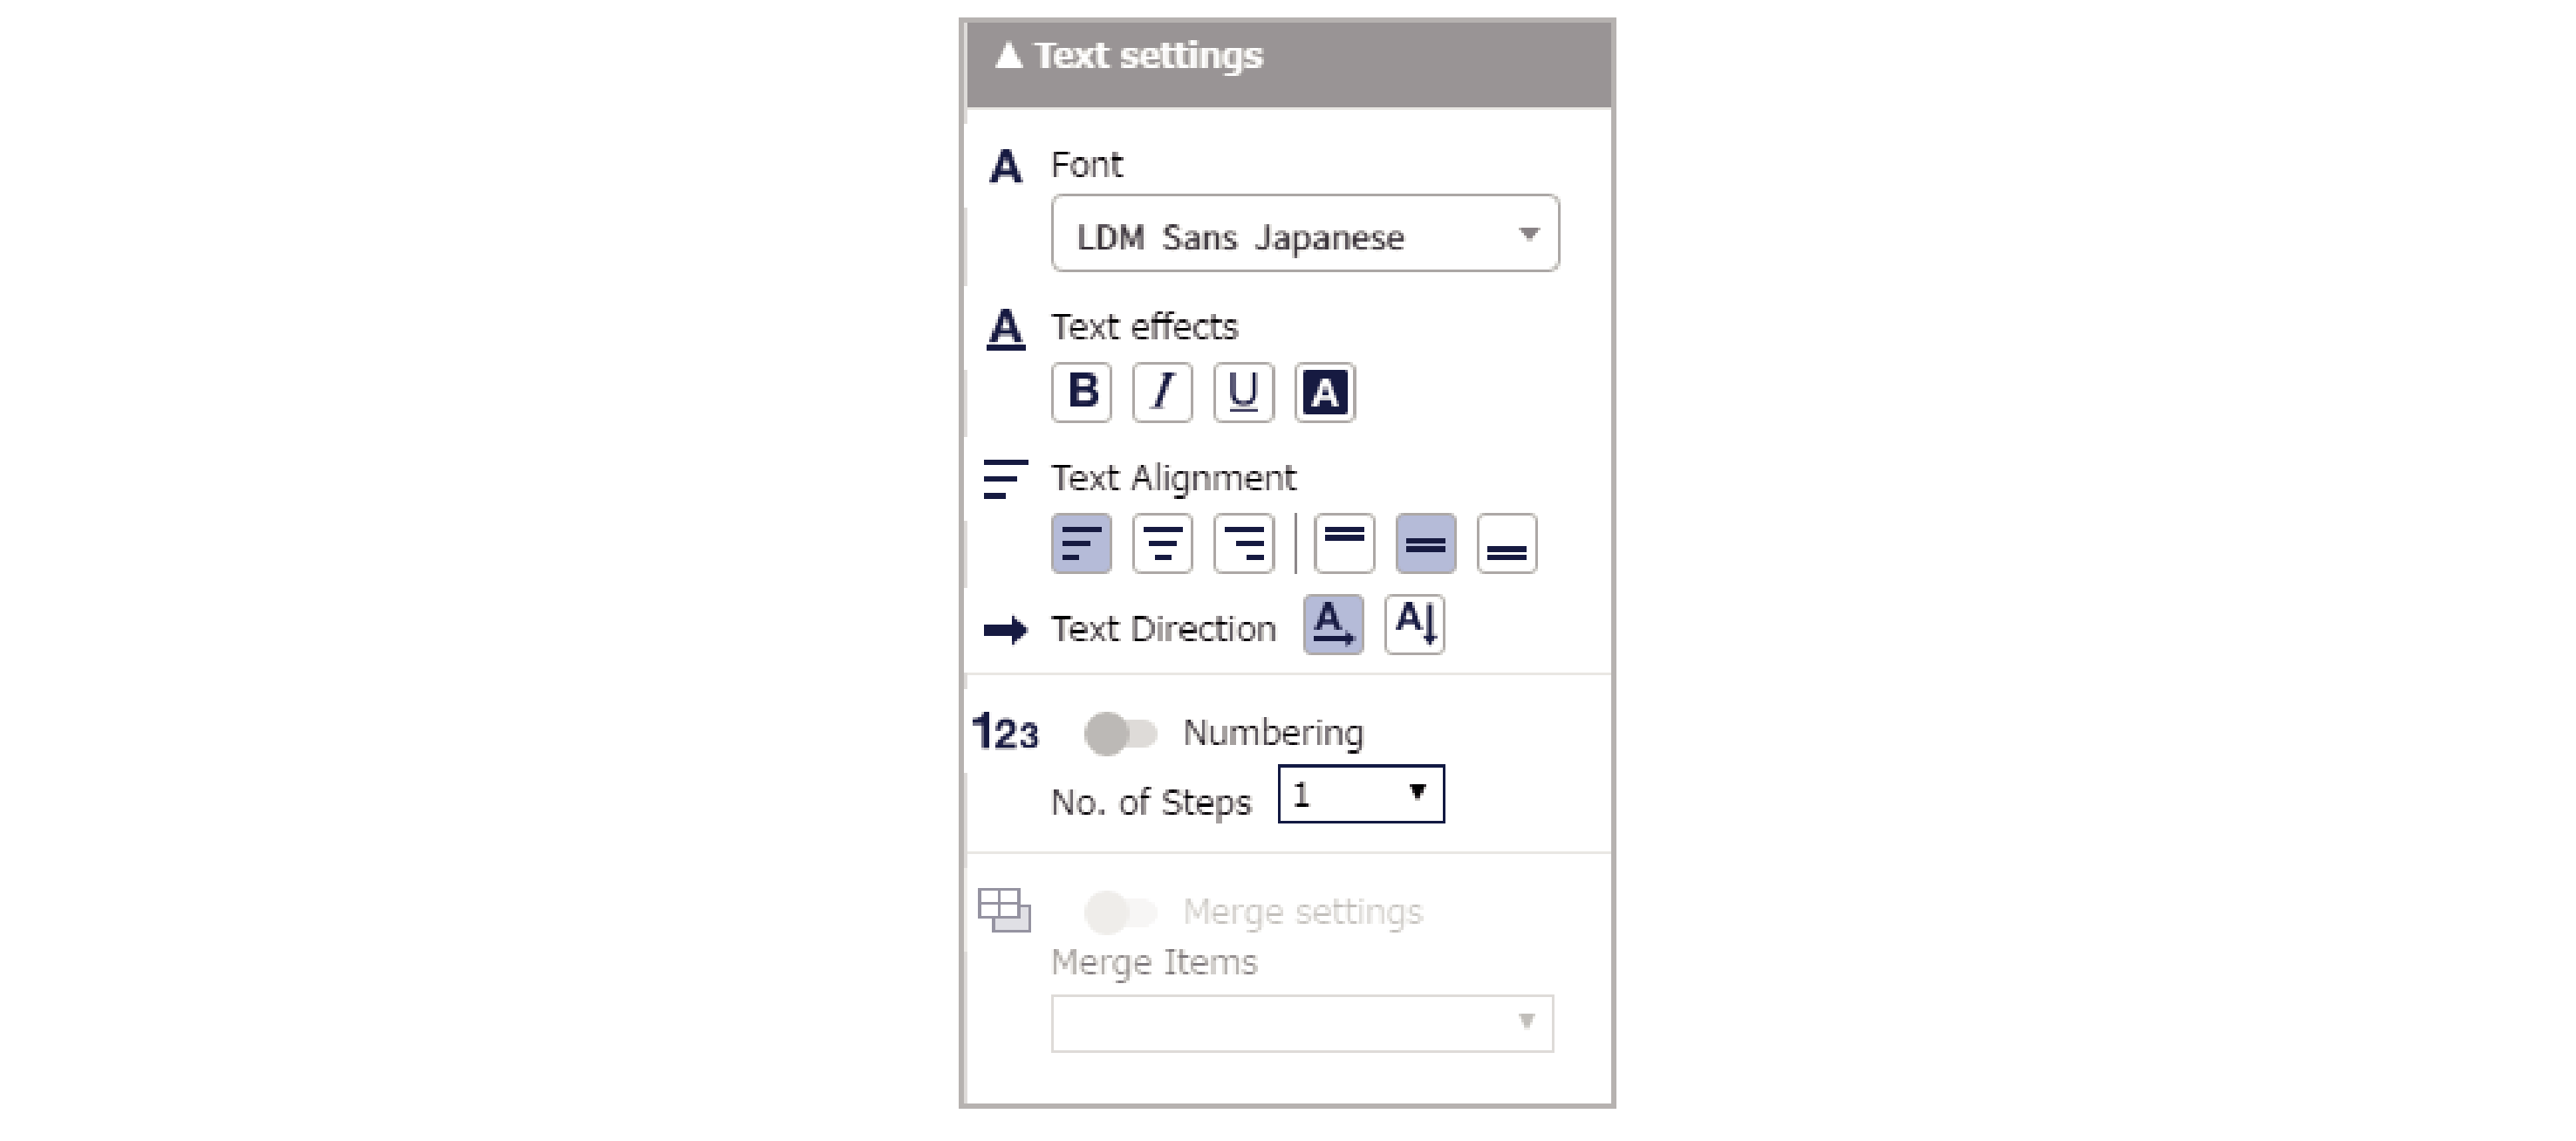
Font:
Selects the text font (typeface).
Text effects:
Specifies bold, italic, underscore or color reversal (white).
Text Alignment:
Sets the position of the text in a cell.
Text Direction:
Switches between Horizontal Text and Vertical Text.
Numbering:
When enabled, applies numbering and highlights any selected cells in pink. Using numbering
No. of steps:
Sets the numbering increment (the amount by which numbers increase). Using numbering
Merge Settings:
When enabled, applies merging and highlights any selected cells in light blue. Creating label sequences (merging)
Merge Items:
Selects the items to be merged. Creating label sequences (merging)
Table settings
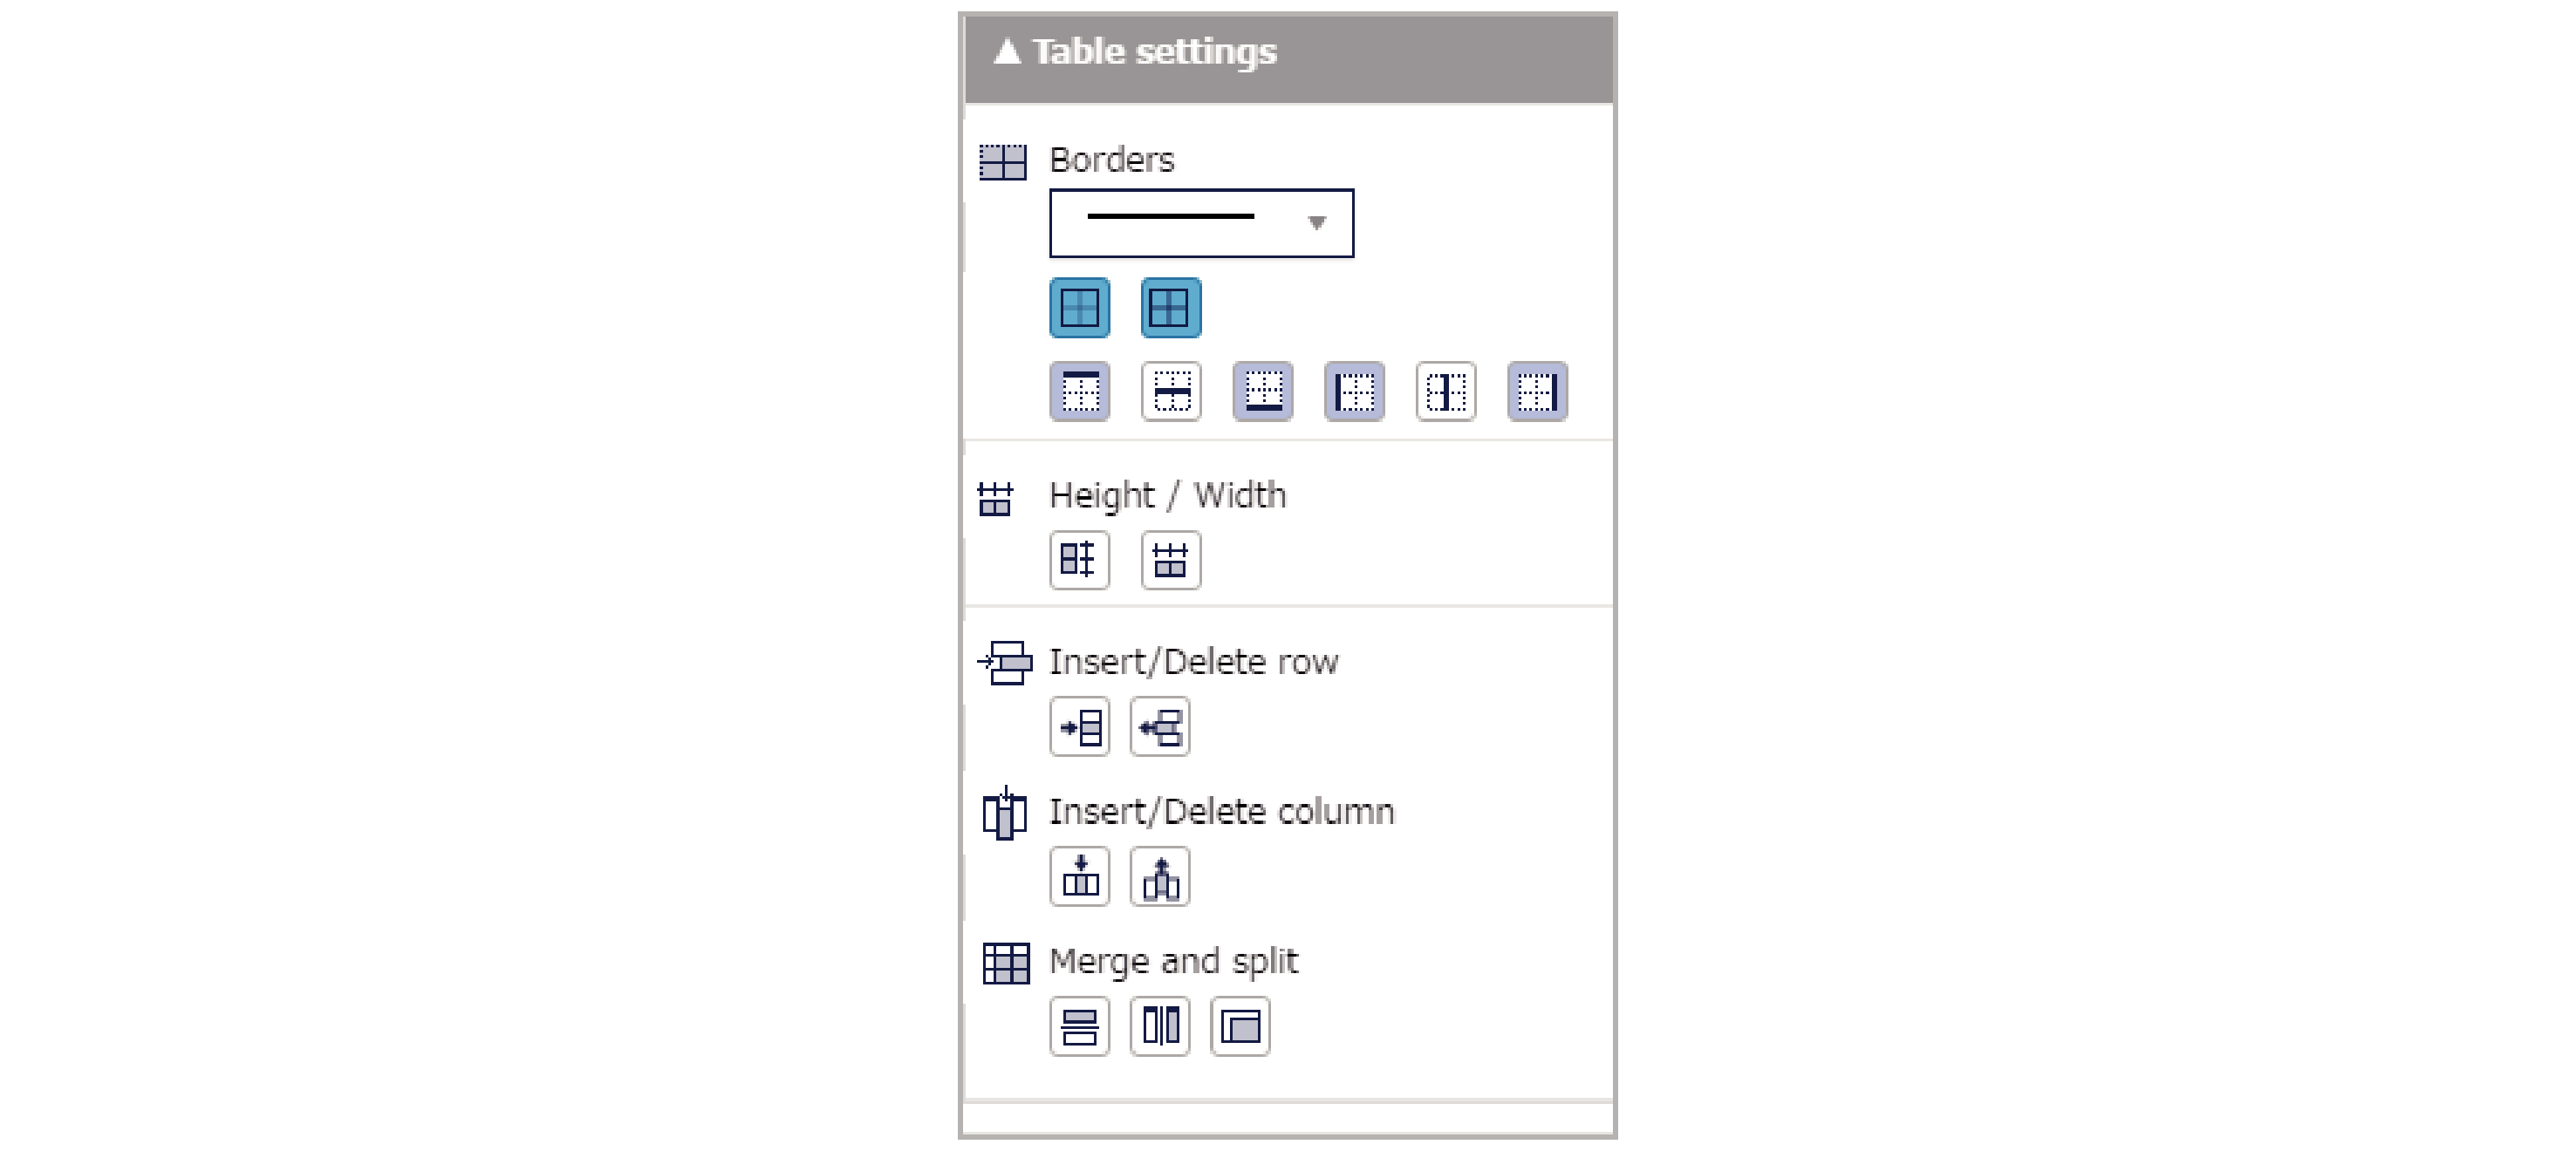
Border:
Can be used to change some or all of the border styles.
Height/Width:
Applies a uniform row height or column width to multiple selected cells.
Insert/Delete row:
Allows you to insert or delete a row.
Insert/Delete column:
Allows you to insert or delete a column.
Merge and split:
Allows you to merge or split specified cells either horizontally or vertically.
 Top of page